Download Instructions |
||
|
1. If you are not registered yet, make your web registration here. |
||
|
2. Add new device from device settings page. (Settings->Devices) 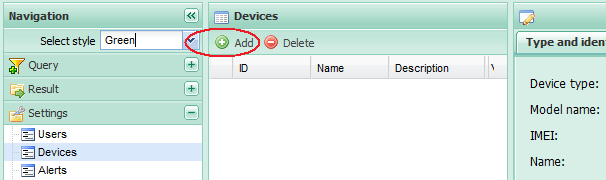
|
||
|
3. Select "Cell Phone" for model name. |
||

|
||
|
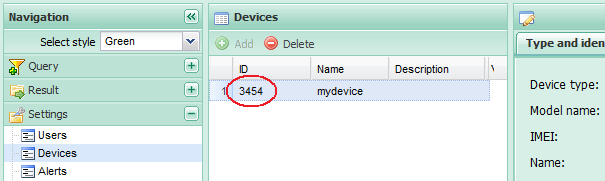
4. Remember your device ID or write it down, you will need it in next steps. The device ID can be seen after save, on device settings page. |
||
|
||
|
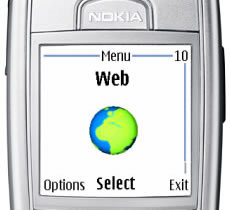
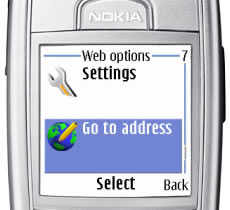
5. GPRS and Internet settings on your cell phone should be set correct for your GSM network provider. The right configuration for Nokia phones you can get at http://www.nokia.com/phonesettings. 6. Start your mobile internet browser |
||
 |
|
|
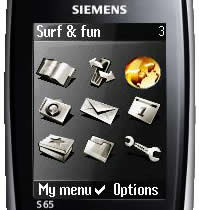
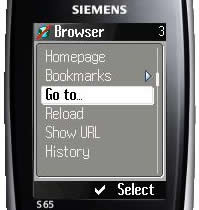
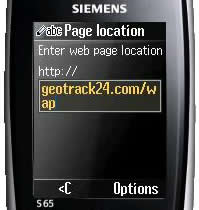
7. Select Go to item to enter the address. |
||
|
|
|
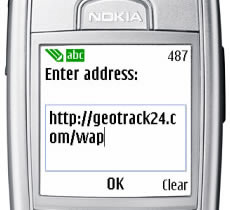
8. Enter web page location http://geotrack24.com/wap |
||
|
|
|
9. Select Tacer link to start download of the application. Be careful, if your mobile phone does not support MIDP2.0 and CLDC1.1 the download process may not be started or after downloading the application may not work. Refer to you cell phone documentation which java version you have. |
||
 |

|
|
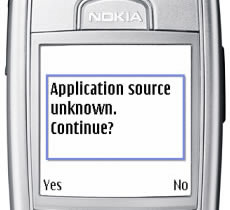
10. Confirm with Yes to continue. |
||
|
|
|
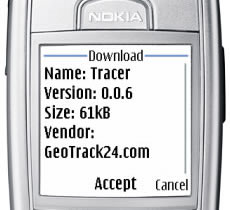
11. Accept to start download. |
||
 |
|
|
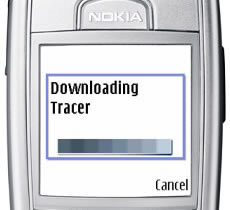
12. Wait until download fineshed. |
||
 |
|
|
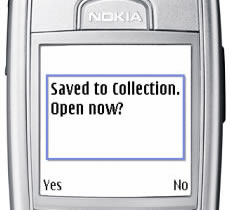
13. If you want the application to start immediately after the downnload, choose Yes (not recomeded). Otherwise, if you want to start the application manualy, choose No. (To avoid waste of online time, first close the WAP browser, then go to application folder and start the application.) |
||
 |
|
|
Getting started
|
||
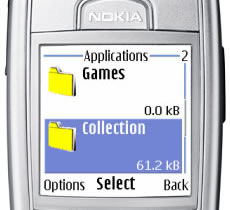
14. Go to your applications menu item. |
||
 |
|
|
15. Select Collection folder (if you have such one, depending of your cell phone). |
||
 |
|
|
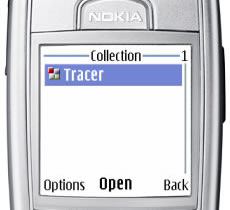
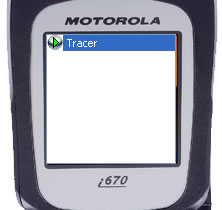
16. Start Tracer application. |
||
 |
|
 |
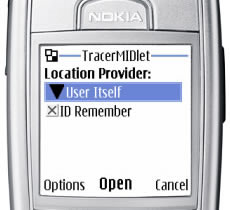
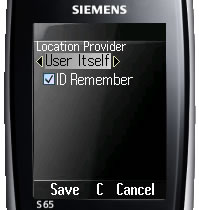
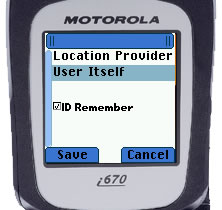
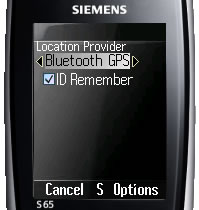
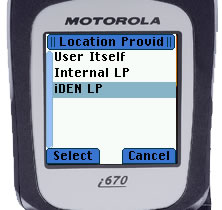
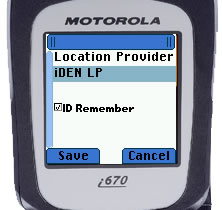
17. After application start for the first time you will be asked to choose your location provider. Application will recognize automatically which kind of location providers you have on your phone. Possible location providers:
If you have Location API in your menu, but you don’t have integrated GPS, you should ask your GSM network provider if it supports Location Based Services. If you select Bluetooth GPS, you will be asked to start search for external GPS with Bluetooth. After external device is found you can go further, otherwise you have to select another location provider. Check box under Location provider controls if the password should be saved in the phone memory. If it's not checked, then the password will be prompted every time the application is started. |
||
 |
 |
 |
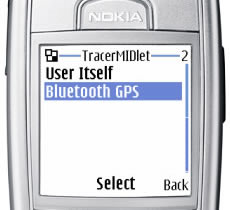
18. Select Bluetooth GPS if you have external GPS with Bluetooth. |
||
 |
 |
 |
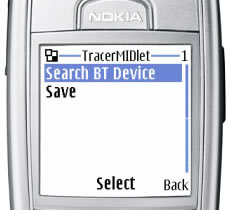
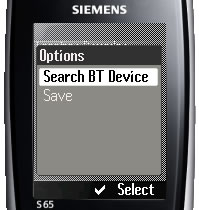
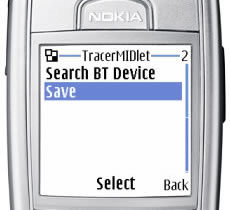
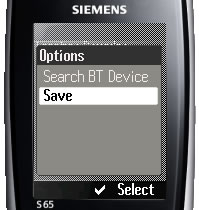
19. Select "Search BT Device" to start searching all bluetooth devices nearby. |
||
 |
 |
|
20. Select Save to save setting and start communication . |
||
 |
 |
 |
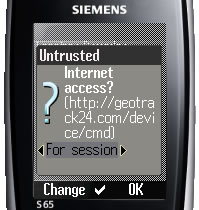
21. Select Yes to allow network access. |
||
 |
 |
|
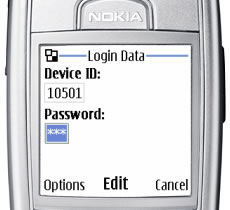
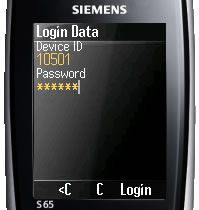
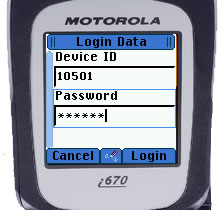
22. Enter device ID and password (same like in the web registration). The Device ID you can find on your Account page (Settings->Account). |
||
 |
 |
 |
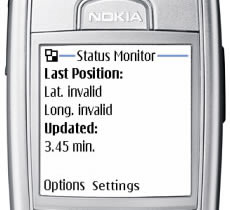
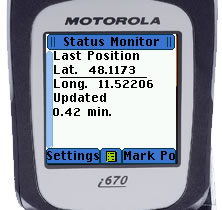
23. After successful login, connection status will be monitored. If you see your local position on the phone display, this mean that the set-up procedure has been successfully performed. The most GPS devices work properly mostly outside. Keep this in mind! |
||
 |
 |
 |
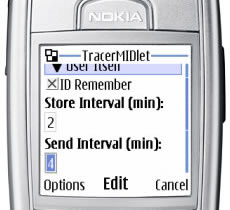
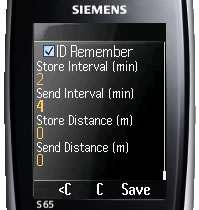
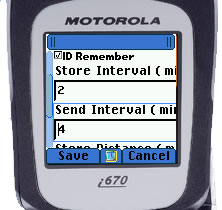
24. Whith the help of settings dialog any time you can change:
|
||
 |
 |
 |
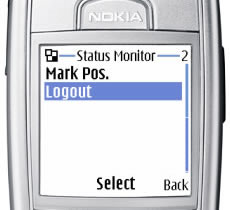
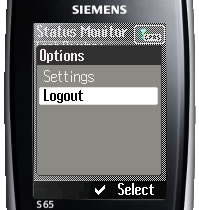
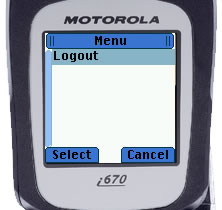
25. Use Logout to close the application. During the logout, all saved position will be send and the apllication will be closed. |
||
 |
 |
 |
|
|
||
|
© GeoTrack24.com. All Rights Reserved.
Terms of Use and Service |
Privacy Policy
|